

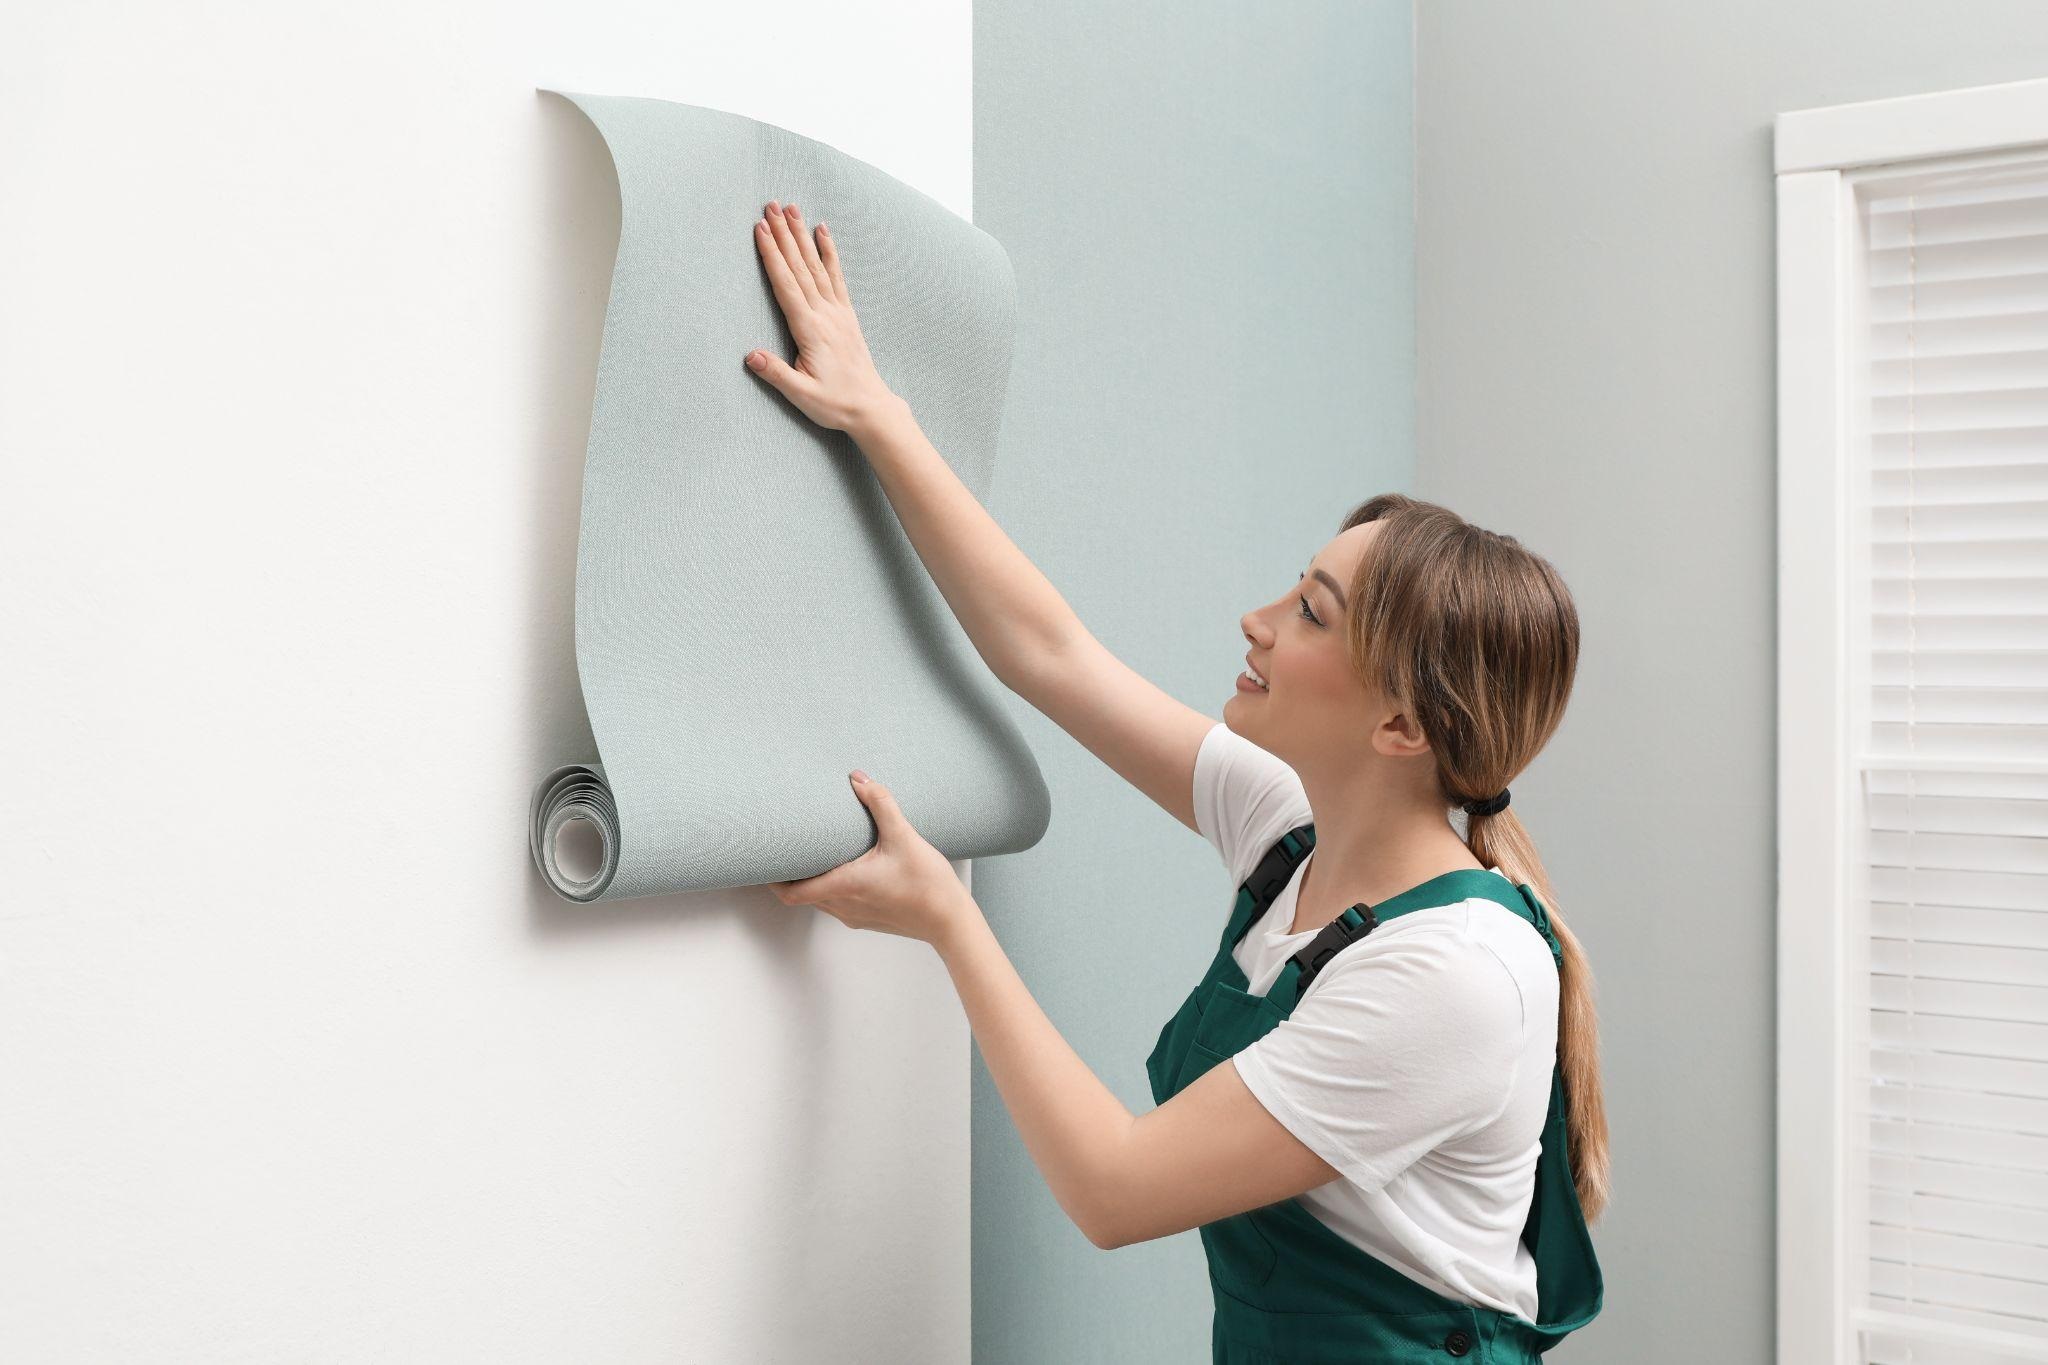
A successful and durable wallpaper installation depends on the application of wallpaper adhesive. However, problems could occur throughout the process, just like with any home improvement project.
Problem: Variable Adhesive Coverage
Uneven wallpaper adhesive coverage is a typical problem that can cause wallpaper to bubble or lift. Usually, this issue arises when the adhesive needs to be applied evenly to the wall.
Tip: Start by properly preparing the wall surface.
Make sure it is dust-free, smooth, and free of debris. To evenly apply the adhesive, start in the middle of the wall and work outwards using a paint roller or wallpaper brush. Make sure the corners and edges are adequately covered by paying close attention to them. Air pockets will be less likely to form, and proper adhesion will be ensured.
Problem: Abundant Adhesive Squeezing Out
The excess adhesive may occasionally leak out of the outer edges of the wallpaper during the application, causing messy installations and possibly harming the wallpaper itself.
Tip: Remember to watch how much adhesive is put on the wallpaper.
Apply a thin, even layer without pressing too hard or overdoing it. To apply the wallpaper adhesive precisely and remove any extra, consider using a more seamless way or a wallpaper brush. If the extra adhesive does press out, quickly remove it with a wet towel before it dries.
Problem: Moving or Sliding Wallpaper
It can be annoying when wallpaper slides or moves while applied because it can lead to crooked structures or uneven seams.
Tip: Before hanging wallpaper, ensure the adhesive is sufficiently tacky to prevent the wallpaper from slipping.
After applying the wallpaper adhesive, wait the suggested amount of time as specified by the manufacturer. Before hanging the wallpaper, let the adhesive get tacky but not completely dry. This will give you a better grip and stop the wallpaper from sliding or shifting while installing it.
Problem: Difficult Air Bubble Removal
A frequent issue that can impact the installation’s overall appearance and durability is air bubbles confined under the wallpaper.
Tip: Start using a smoothing tool or a wallpaper brush to smooth the wallpaper from the middle outward to reduce the likelihood of air bubbles.
Apply even pressure while being gentle to ensure adequate bonding and get rid of any air pockets. If air bubbles do appear, gently push the wallpaper down after poking the bubble with a small pin or a needle to let the trapped air out. For a seamless finish, smooth the area with a flattening tool.
Problem: Shrinkage or expansion of wallpaper
Sometimes after installation, wallpaper can contract or expand, leaving overlaps or spaces between the strips.
Tip: Before hanging the wallpaper, give it time to adjust to the humidity and temperature of the space.
This will lessen the possibility of expansion or contraction. Observe the acclimation time recommendations provided by the manufacturer. The wallpaper strips should also be accurately measured and cut, with just enough overlap to account for any slight size variations. When installing the wallpaper, smooth out the strips to ensure a tight fit and reduce the possibility of spaces or overlaps.
Conclusion
You can overcome obstacles and create a seamless and expert-looking wallpaper application by keeping these typical problems in mind and heeding the provided advice. Keep in mind to carefully read and adhere to the instructions provided by the manufacturer for the particular wallpaper adhesive you use, as various adhesives may have unique needs. You can effortlessly apply wallpaper adhesive with the right technique, patience, and attention to detail, transforming your room with beautiful, durable wall coverings.
